——This article is selected from the March issue of Connector Technology Special Issue.
Welcome to my production guide - making high-end audio cables. This guide will take you through the DIY to build a multi-strand braided speaker connection from start to finish. You can make any length, color and style of connection according to your imagination.High-end audio cables are the most expensive part. Some companies (such as Nordost and Audioquest) sell a pair of speaker cables for $500! That's just a 1 meter cable! Maybe you will ask like most people, what are the specials for these 500 yuan wires? The answer is simple: no! In fact, these $500 speaker cables are no different. They charge high prices because they claim that the geometry and wire design will improve the quality of your sound.
If you have a soft spot for high-end audio cables, you don't want to be bought as a fool for $500. Then, the best way is to make a connection line of your own! According to the 10 steps I gave, it is easy to program the speaker cable.
Step 1: Make a plan
Before you start, you'd better make a plan. You must consider what the final product you want is and what materials you need. Some important things to do are also to take some notes:
length
The total length of the cable depends on how far your speaker is from your amplifier. For desktop settings, a 1m cable should handle most situations. But for a home theater or listening room, you need to take specific measures based on your specific situation.
style
The total length of the cable also depends on the style of the cable. For example, in the same length, the braided wire will cost more than the twisted pair.
Wire and Cable
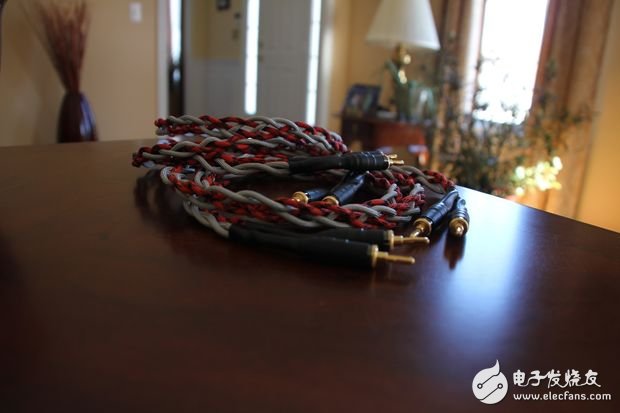
There are countless ways to weave these threads together, so weaving with a different number of wires/cables will directly affect the appearance of the final product. Using multiple long, thin wires allows the cable to be more flexible and still available for high power settings. I personally prefer 4-wire weaving because I believe it looks the best (this is how it works). But you can also use any method to weave! If you are not good at weaving, then a simple 3-wire weave can be used. This method is easy for anyone, just three wires.
colour
The color of the cable depends on what color is used. You can choose any method for color processing, and some people even use Teflon to make their entire cable a white color.
terminal
The processing of the terminal is entirely up to you. If you are not sure how to deal with it, you can let them barely connect to your system. If you are not sure which terminal to use, check the wires that are already on the system and try to use the same style of terminal. I personally recommend banana plugs because they are the easiest to use.
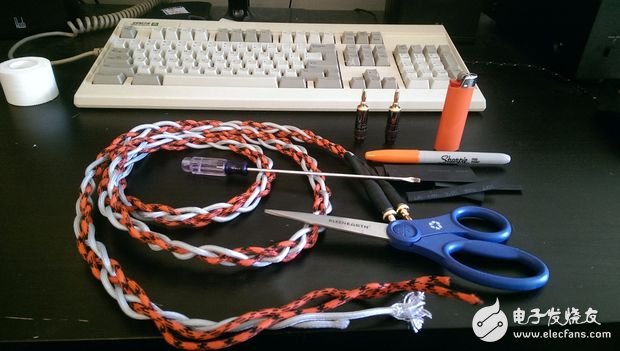
Step 2: Tools
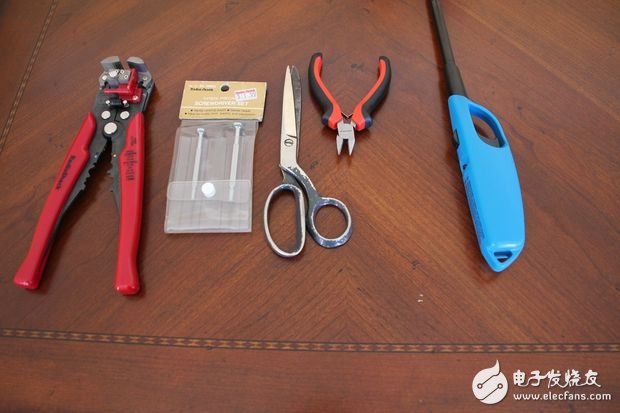

Required tools:
- A pair of wire stripping machines
- A good pair of scissors and or wire cutters
- from light or hot air gun
- A roll of tape, or similar strength tape
- Knife or razor blade
- a small screwdriver
Step 3: Material
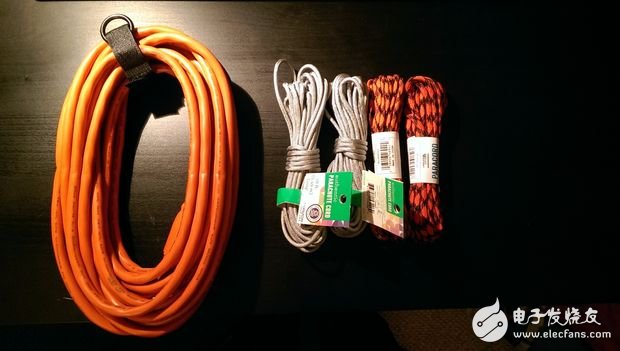
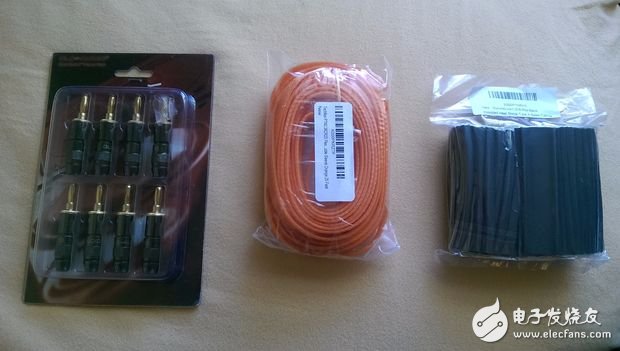
What material you need depends on what product you want. Here are the materials I need:
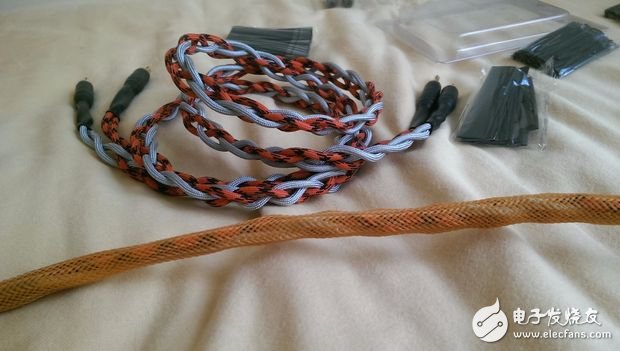
- 72' paracord (various colors)
- 25'16 AWG three-core extension cord
- 8 banana plugs
- A large variety of heat shrinkable tubes
The total cost of materials is $38.
The cheapest three-wire extension cord with 16 AWG wire can be found. Cheap cables are easy to disassemble and clean. More expensive cables are tightly surrounding the outermost layer that forms the inner conductor insulation, which makes handling much more difficult.
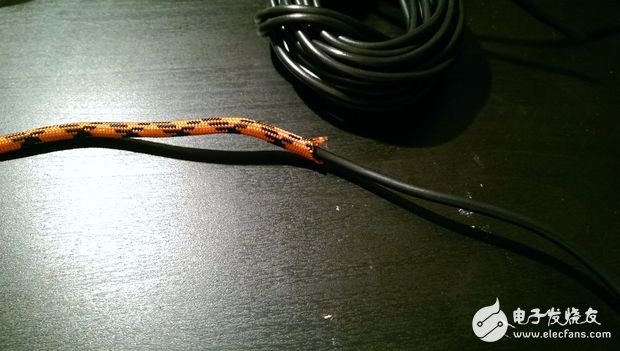
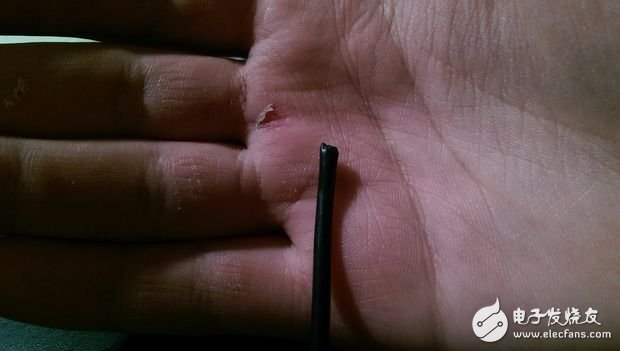
Step 4: Stripping the cable
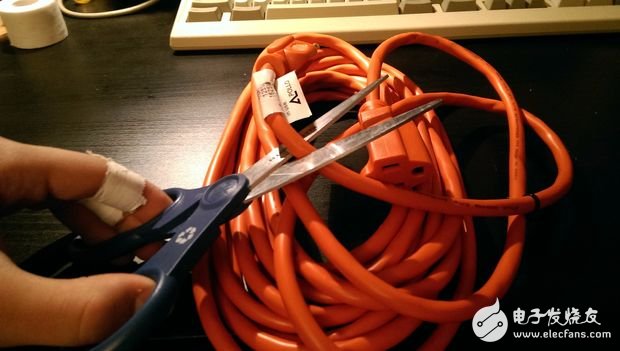
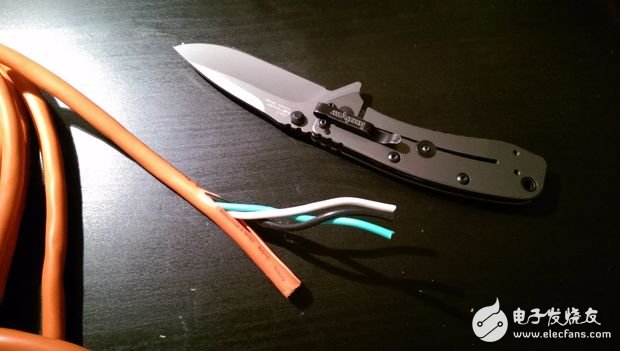
(1 First, grab your long cable and cut the plugs at both ends. You will see three 16 AWG wires inside, which will be our speaker cables.
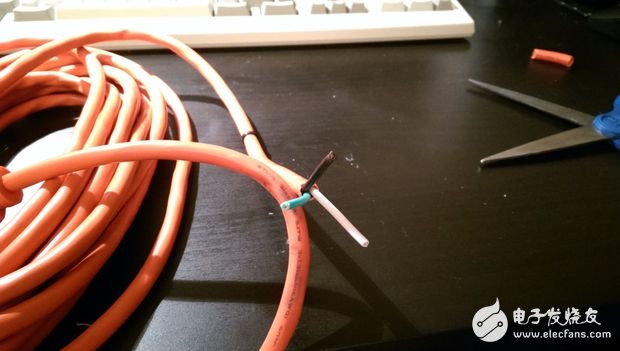
(2) Then use a sharp blade to cut a few inches at the other end of the insulated cable, then pull the three wires inside out.
(3 Once the internal wires are exposed, you will find that they are loosely entangled.
(4 Now untie them from each other and separate them according to color.
(5) Each finished cable will use 4 wires, so you need to determine how many cables are needed to complete the design.
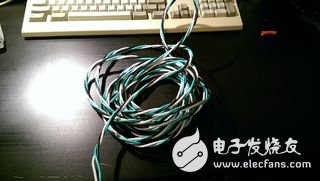
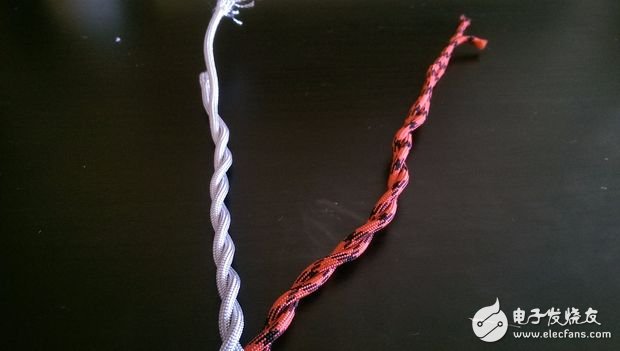
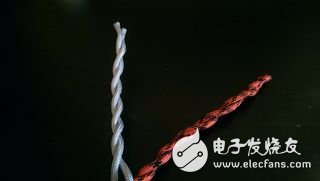
Step 5: Prepare the nylon thread
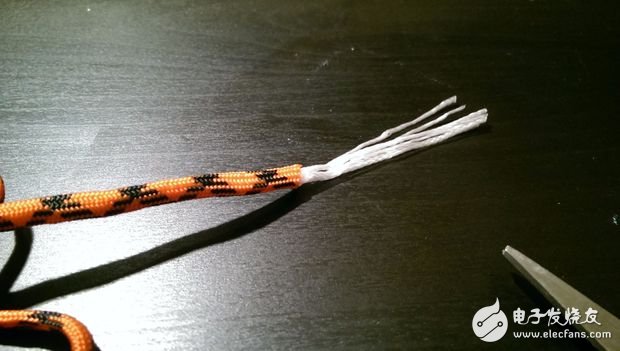

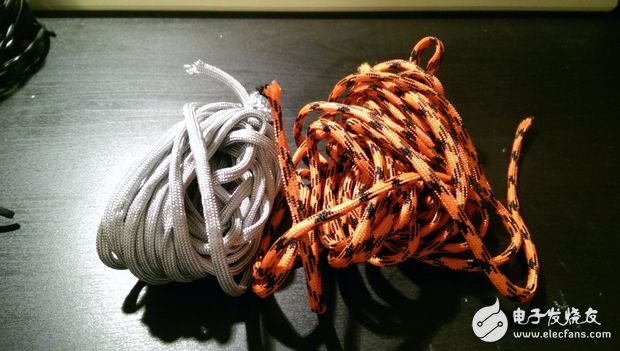
Now we need to turn our attention to the nylon rope. The material I will use below is called paracord 550.
(1) Look at the ends of the nylon rope and you will find that they have been fused together to prevent wear. You need to cut both ends with scissors.
(2) You will notice that there are several nylon threads inside, just pull out the wires.
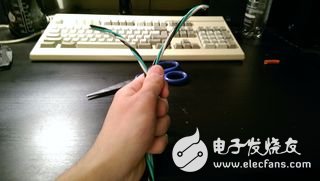
Step 6: Threading
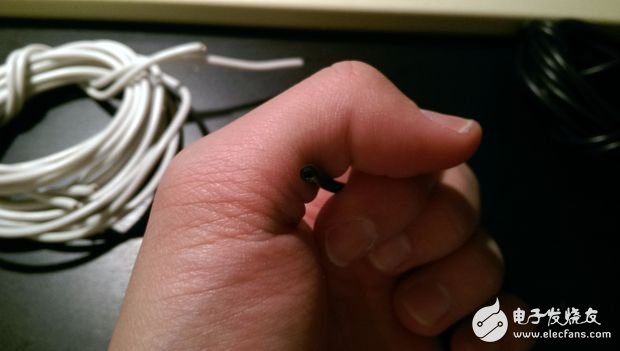
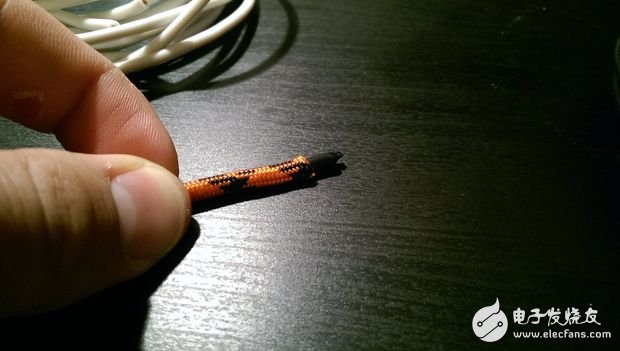
It's time to put the nylon rope we prepared before on the wire. However this is not as simple as sliding the nylon rope around the wire.
If left untreated, the nylon rope slipping over the wire will inevitably hang into the copper strands inside the wire. So heat the end of the wire with a lighter until it begins to melt. Then use your fingers to pry the melted end of the wire, or roll it on the table to make the ends round. This will allow the nylon rope to slide better.
Make sure to leave a half inch at one end without a nylon cord and then wrap a piece of tape.
Step 7: Weaving the wires
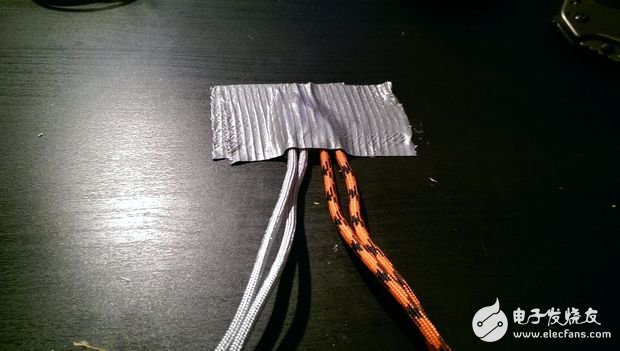
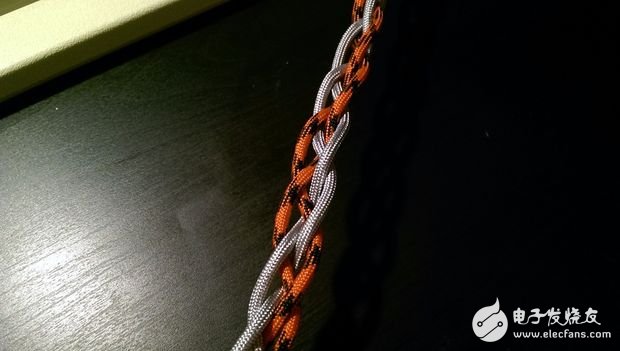
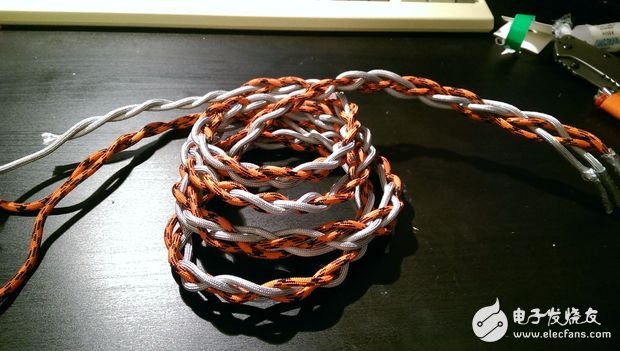
There are many different ways to weave cables, but unfortunately I don't understand complex weaving techniques, so I chose the simplest 4-strand weave.
Precautions:
Do not weave too tightly, which will greatly shorten the final length of the line. However, if you have enough wire, you can weave it tightly, because it looks cleaner and more compact than loose.
You have to be ready to re-weave if they look unsightly. Therefore, it is recommended that you take some spare lines to practice.
Tape the wire to the table so you can weave it.
Step 8: Add a terminal
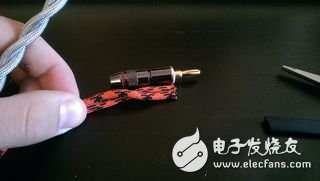
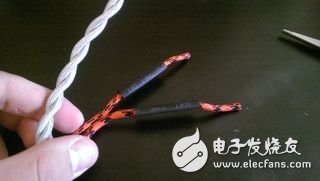
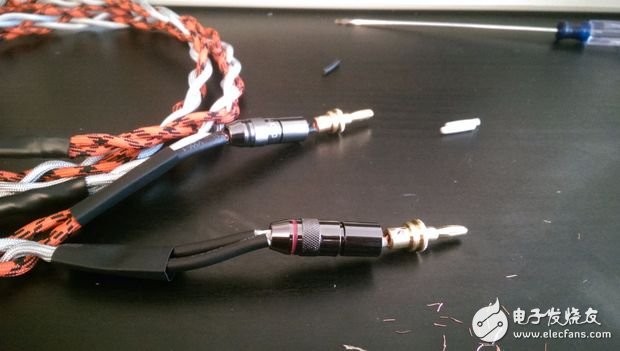
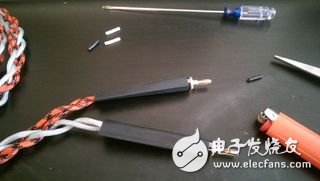
Now that you have finished making the speaker cable, start the terminal connection - install the banana plug. A flathead screwdriver is required for installation.
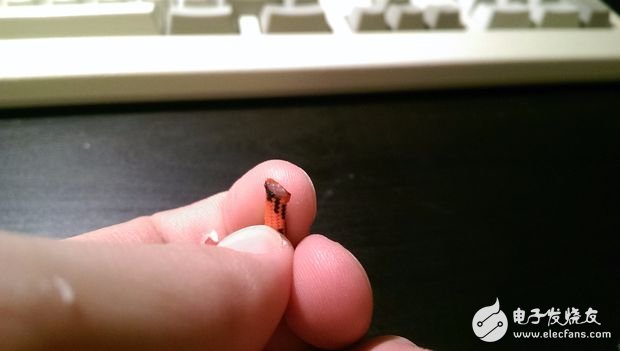
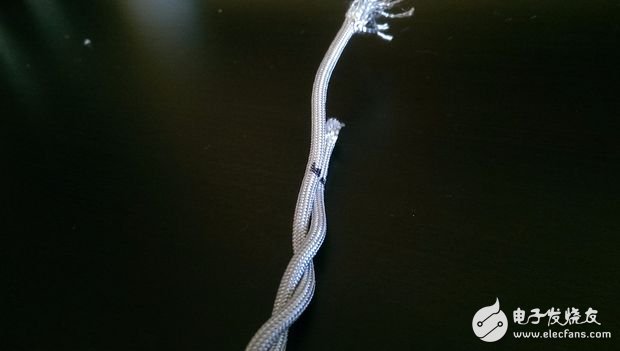
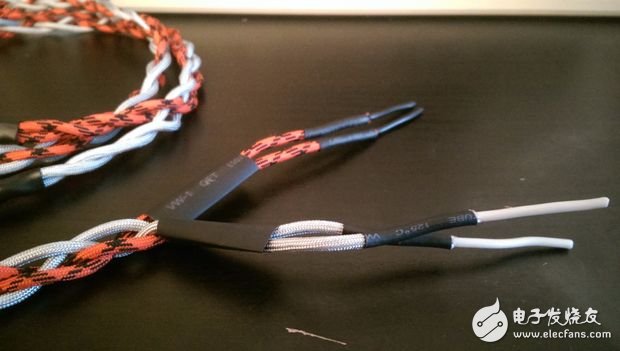
(1) First, unscrew the twisted wires as shown in Figure 2.
(2) Then measure 5' where the wire is split and mark it. Cut it with your wire cutters or scissors.
(3) Cover the place with a heat shrink sleeve and allow it to contract tightly.
(4) Then put a heat shrink tube on the surface of the shrink heat shrink tube.
(5) Next connect the banana plug to the wire.
(6) Then fix the joint between the banana plug and the wire with a heat shrinkable tube.
Step 9: Test and Troubleshooting
Before connecting to the sound system, you should test the integrity of the wire with a multimeter as usual.
(1) Turn the multimeter to the diode test mode and check the connectivity of all lines. The most important thing is to check if there is a short circuit between the positive and negative electrodes.
(2) Turn the multimeter to the resistance mode and check the resistance of each cable. The resistance should be very low under normal conditions. If you see any value greater than 1 ohm, you should pay attention.
(3) If you have no problems detecting them, connect them to your system and measure their output signals.
Step 10: End
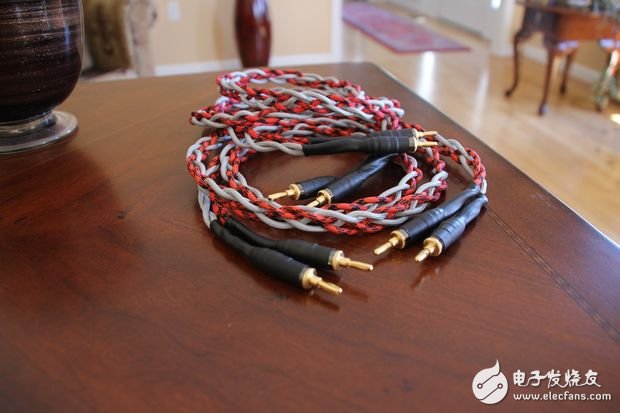

If you do this, you already know how to make a high quality, durable and beautiful audio cable. Color and line styles can be easily modified to match your existing decor, allowing your cable to blend into your room or stand out from the surrounding environment.
----------------------------
More connector technology hot text can be accessed in the special issue page for free download: "Connector Technology Special Issue"
This Automation curtain is specially designed for automation industry. SDKELI LSC2 light curtain is designed for automation field, with small size, compact structure and strong anti-interference ability, and the product meets IEC 61496-2 standards. The Automatic Light Curtain is with reliable quality and very competitive price. It has been used in many factories and has replaced curtains from Sick, Omron, Banner, Keyence, etc.
Automatic Light Curtain,Laser Light Curtain,Automation Light Beam Sensor,Automatic Infrared Beam Sensor,Infrared Beam Curttain Sensor,Infrared Beam Sensor
Jining KeLi Photoelectronic Industrial Co.,Ltd , https://www.sdkelien.com